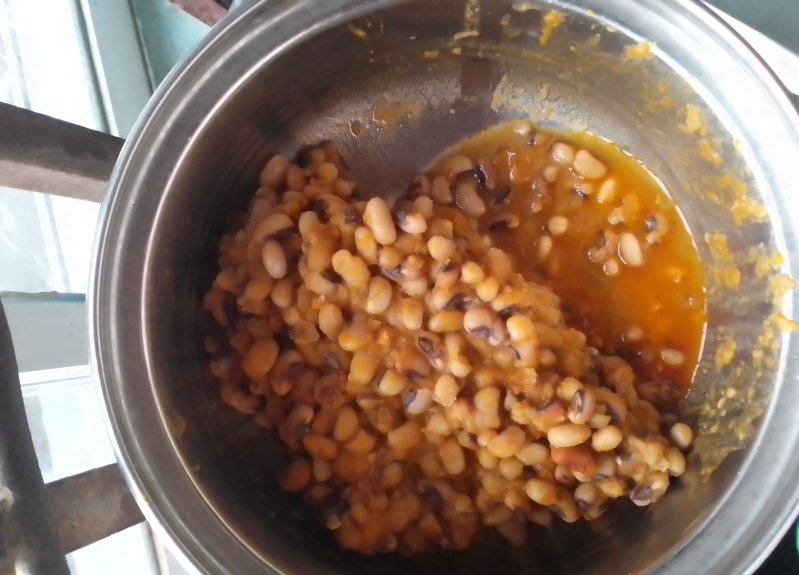
How to Cook Dried Beans for Better Texture
Homemade dried beans are worlds creamier and more flavorful than canned beans when you avoid split skins and chalky centers. Learn how salted soaking, gentle simmering, aromatic broths, and acid timing produce tender beans.
Why Dried Beans Turn Out Chalky or Burst Their Skins
A great pot of homemade black beans, chickpeas, cannellini, or pinto beans has thin, intact seed coats surrounding buttery, velvety interiors suspended in a savory broth. When dried beans fail—splitting open into ragged skins while the centers stay mealy or pebbles-hard—three culprits are usually responsible: boiling the pot too aggressively so beans slam into each other, cooking in mineral-heavy hard tap water, or adding acidic tomatoes or vinegar before the beans soften.
Age also matters. Even though dried beans are shelf-stable for years, beans older than 12 to 18 months lose moisture from their microscopic entry pore (the micropyle) and take nearly twice as long to hydrate. Buying dried legumes from markets with steady turnover gives you a huge head start, as noted in USDA MyPlate's beans and peas guide.
The Myth About Salt (and the Truth About Acid and Hard Water)
For decades, old kitchen lore claimed that salting bean soaking or cooking water toughens bean skins. Culinary testing has thoroughly debunked this myth—in fact, soaking dried beans in lightly salted water (a mild brine of 1.5 tablespoons kosher salt per 3 quarts of water) actually produces softer skins and fewer blowouts! Sodium ions replace calcium and magnesium ions in the pectin of the bean's seed coat, making the skin more flexible so it expands smoothly at the same rate as the starchy interior.
What does prevent beans from softening is calcium, magnesium, and acid. If you have very hard tap water, or if you add canned tomatoes, wine, lemon juice, or vinegar at the start of simmering, calcium and hydrogen ions reinforce the pectin cross-links in the seed coat so the beans stay crunchy even after three hours on the stove. Always wait until beans are completely tender before stirring in tomatoes, salsa, or vinegar.
Important Food Safety Rule for Red Kidney Beans
Before cooking dried red or white kidney beans (and cannellini beans), follow one critical food safety step documented in the U.S. FDA Bad Bug Book: raw kidney beans contain high levels of a natural plant protein called phytohaemagglutinin (kidney bean lectin), which can cause severe stomach upset if undercooked. Soak dried kidney beans for at least 5 hours, discard the soaking water, cover with fresh water, and boil briskly at a full 212°F (100°C) rolling boil for a minimum of 10 minutes before reducing the heat to a gentle simmer. Never put raw soaked kidney beans straight into a low-temperature slow cooker without boiling them for 10 minutes on the stovetop first.
Step-by-Step: Soaking and Gentle Stovetop Simmering
Cooking Time Chart by Bean Variety
| Bean Variety (Soaked) | Gentle Stovetop Simmer Time | Yield per 1 Cup Dried |
|---|---|---|
| Black-eyed peas & lima beans | 35 to 50 minutes | ~2.5 cups cooked |
| Black beans, navy beans, & Great Northern | 45 to 70 minutes | ~2.5 to 3 cups cooked |
| Pinto beans, red kidney beans, & cranberry beans | 60 to 90 minutes (after 10-min boil) | ~2.75 cups cooked |
| Cannellini beans & large butter beans | 65 to 95 minutes | ~2.75 cups cooked |
| Chickpeas (garbanzo beans) | 75 to 120 minutes | ~3 cups cooked |
Storing and Freezing Cooked Beans in Their Broth
Always let cooked beans cool submerged in their flavorful cooking liquid (pot liquor) so the skins do not dry out and crack. Store cooked beans and their broth in airtight glass containers in the refrigerator for up to 4 days, or freeze in 1.5-cup portions (the exact volume of a standard 15-ounce can) for up to 3 months. Use your homemade beans in make-ahead healthy lunches, season them with tips from when to add herbs and spices, and browse more guides in Kitchen Tips and Techniques.
Key Takeaway
Soak dried beans in lightly salted water, boil kidney beans briskly for 10 minutes for safety, drop the heat to a gentle bare shimmer with aromatics, and hold off on tomatoes or vinegar until the centers are completely creamy.
Sources:
- FDA Bad Bug Book — Phytohaemagglutinin (Red Kidney Bean Lectin Boiling Safety) (U.S. Food and Drug Administration)
- USDA MyPlate — Beans, Peas, and Lentils Preparation Guide (U.S. Department of Agriculture)