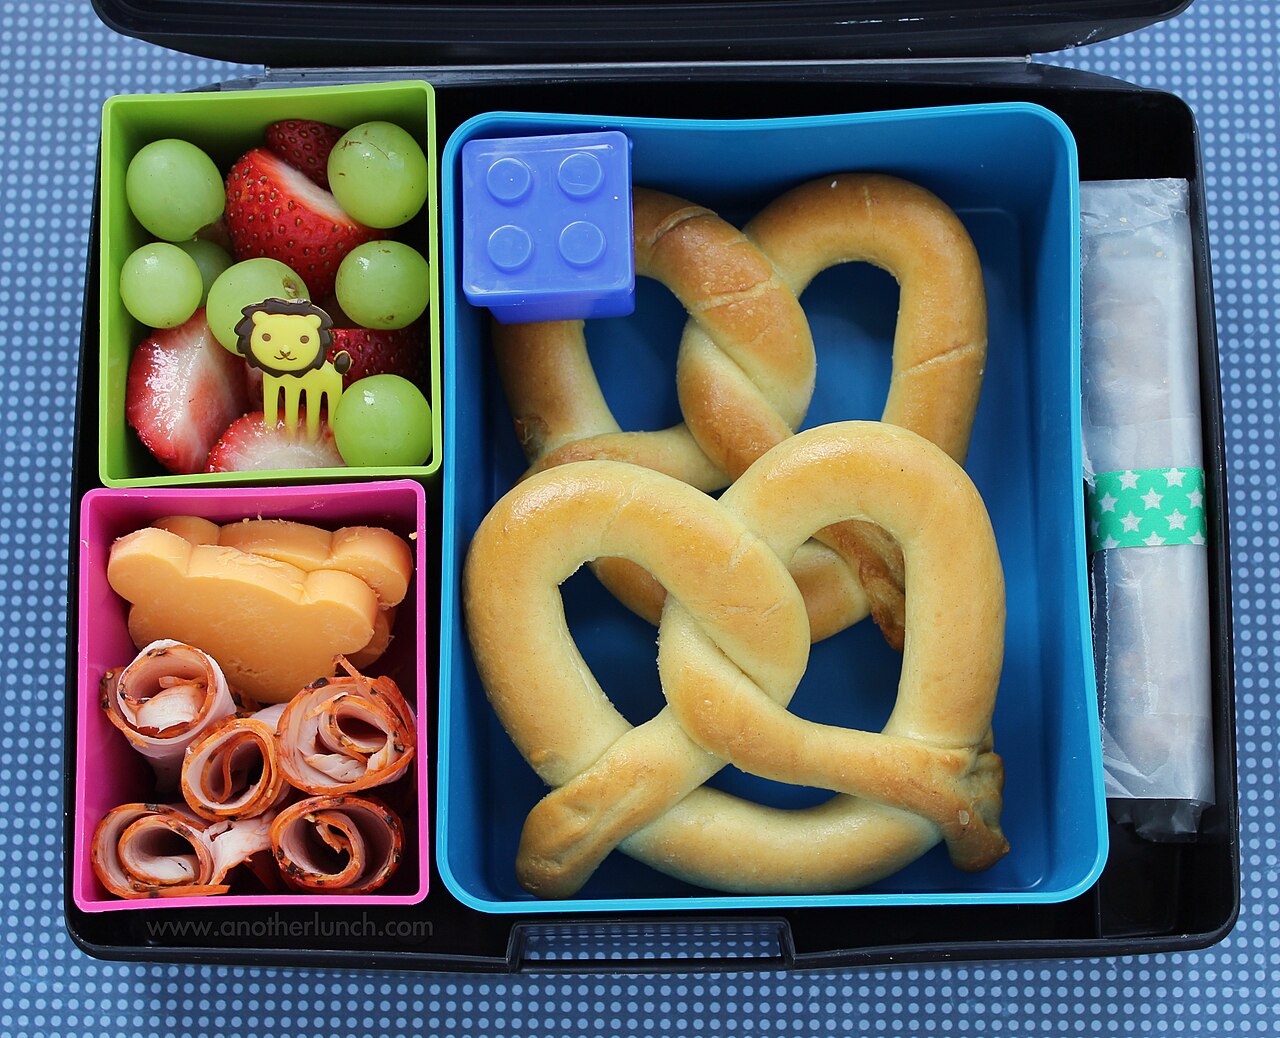
How to Prepare Healthy Lunches Ahead of Time
Make-ahead lunches fail when greens wilt, grains dry out, or cold-chain food safety slips during your commute. Learn how to pack modular bento boxes, vertical mason jar salads, and reheat-friendly grain bowls for 4 days.
Why Most Make-Ahead Lunches Get Soggy by Tuesday
The biggest reason people abandon weekday lunch prep is texture fatigue: a salad dressed on Sunday night turns into a wilted puddle by Monday noon, and a warm chicken-and-rice bowl sealed with raw cucumbers and dressing ends up steaming everything when microwaved at the office. Moisture migration—where salt and acid in sauces pull water out of crisp vegetables while dry grains absorb condensation—ruins meals when wet, dry, hot, and cold ingredients share a single compartment.
Solving this takes less time than you think. By choosing sturdy ingredients that hold their structure for 4 days and separating wet dressings and cold toppings into small removable cups, every lunch tastes freshly assembled. Start by prepping your produce with our guide on how to meal prep vegetables for the week.
The 4-Part Formula for Sturdy Make-Ahead Lunches
| Lunch Component | Best 4-Day Performers | Ingredients to Add Only on the Day Of | Portion Target |
|---|---|---|---|
| 1. Fiber-Rich Base | Quinoa, farro, brown rice, black lentils, shredded cabbage, massaged kale | Delicate spring mix, baby spinach (unless kept bone-dry on top) | 1 to 1.5 cups |
| 2. Lean Protein | Poached or roasted chicken thighs/breasts, hard-boiled eggs, baked tofu, chickpeas, edamame | Pan-seared flaky white fish (best eaten within 48 hours) | 4 to 6 oz (or 3/4 cup beans) |
| 3. Crisp or Roasted Veggies | Roasted sweet potatoes, broccoli, bell pepper strips, snap peas, grated carrots | Sliced ripe tomatoes, diced avocado, peeled cucumber | 1.5 to 2 cups |
| 4. Sauce & Crunch Topper | Vinaigrette, tahini-lemon drizzle, salsa, toasted almonds, pumpkin seeds | Store in two separate 2-oz condiment cups until eating | 2 tbsp sauce + 1 tbsp seeds |
Step-by-Step: Building 4 Days of Modular Lunch Bowls
Vertical Layering Order for Jar and Container Salads
If you prefer a cold no-reheat lunch salad in a wide-mouth quart jar or deep container, gravity is your ally. Pour 2 tablespoons of dressing into the very bottom, followed by hard non-absorbent vegetables (carrots, bell peppers, celery, chickpeas), then grains or pasta, then diced protein, and finally leafy greens and herbs at the very top where they stay high and dry until you shake and dump the jar into a bowl.
Commute and Workplace Food Safety Rules
Per USDA FSIS Keeping Bag Lunches Safe, perishable lunches containing meat, poultry, fish, eggs, cooked grains, or cut vegetables must never sit at room temperature for more than 2 hours. If you do not have access to an office refrigerator, pack your insulated lunch tote with at least two ice sources (one on the bottom and one on top of the container) to hold the internal temperature at 40°F (4°C) or below.
How to Reheat Only the Warm Components at Lunchtime
When lunch arrives, lift out the cold greens and dressing cups, sprinkle 1 tablespoon of water over the grain-and-protein base, and microwave at 50%–70% power until steaming hot (165°F). See our dedicated guides on how to keep chicken moist when reheating it and how to reheat leftovers without drying them out, or browse Healthy Meal Prep.
To keep your weekday lunch routine interesting without cooking five separate recipes on Sunday, prepare one big batch of grain base and one protein, then pair days 1 and 2 with a Mediterranean lemon-herb dressing and olives, and pair days 3 and 4 with a sesame-ginger dressing, edamame, and toasted sesame seeds. You get two completely different flavor profiles from a single 45-minute prep session.
Glass containers with snap-locking silicone lids are ideal because they never retain food odors, let you see contents at a glance, and transition safely from the refrigerator to the microwave or oven once the lid is removed.
Key Takeaway
Cool cooked components before sealing, separate warm bases from cold greens and dressings, pack no more than 4 days in the refrigerator, and keep lunches below 40°F with an ice pack or fridge until mealtime.
Sources:
- USDA FSIS — Keeping Bag Lunches Safe (USDA Food Safety and Inspection Service)