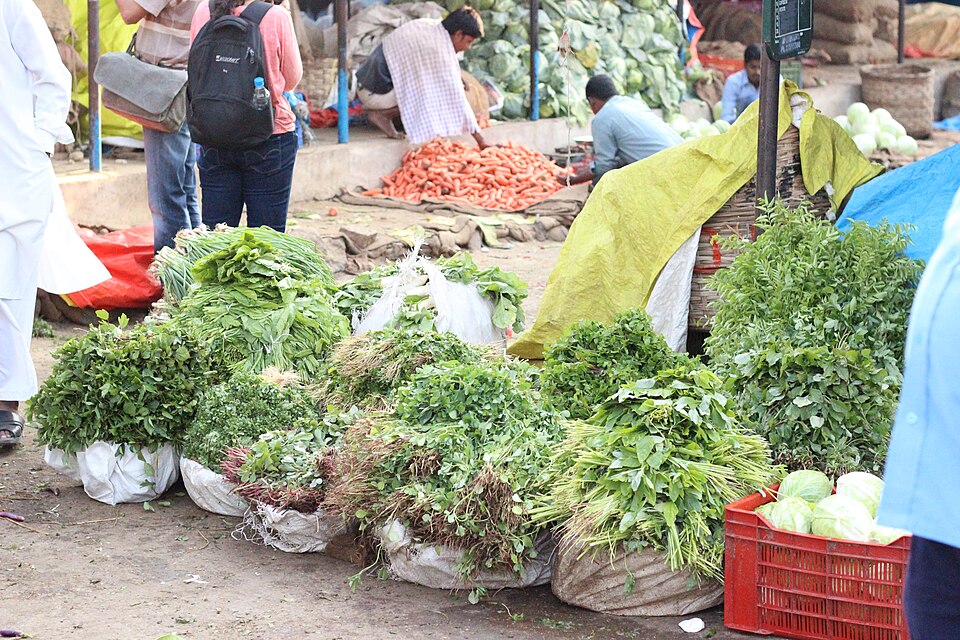
How to Keep Leafy Greens Fresh Longer
Learn how to wash, dry, store, and organize leafy greens to help lettuce, spinach, and kale stay fresh longer. Avoid excess moisture and common storage mistakes.
Why Leafy Greens Spoil So Quickly
Leafy greens lose quality when water sits on their surfaces, when leaves are packed so tightly that air cannot move, or when a bruised leaf spreads decay to its neighbors. Lettuce has broad, tender leaves that bruise easily. Baby spinach has thin leaves and a high surface area, so trapped moisture can turn the bottom of a bag slimy. Kale and collards are sturdier because their leaves are thicker, but they still yellow when exposed to warm air for too long. The goal is not to make every green equally dry; it is to match the storage method to the leaf and keep condensation under control.
Choose a Washing Plan for Each Green
There is no single best washing schedule. Sturdy kale, collards, and chard can be washed soon after shopping if you have time to dry them thoroughly. Delicate lettuce, arugula, and baby spinach often last better when washed just before use, especially if the leaves will sit in a small household refrigerator. Check the package first: pre-washed greens should not be washed again unless the label instructs you to do so. For loose greens, remove wilted or damaged leaves before they touch the rest. Sorting first prevents one soft leaf from adding unnecessary moisture and microbes to the container.
Wash and Drain Without Bruising the Leaves
Fill a clean basin with cool water and lift the leaves through it rather than rubbing them hard under a strong running stream. Grit falls away while the leaves remain supported. For a salad spinner, spin in short rounds, pour away the water, and repeat until the water in the bowl looks clear. If you do not have a spinner, spread the greens on clean towels and gently blot the surface. Do not store leaves that are visibly wet. A few minutes of extra draining is more useful than adding another layer of plastic, because condensation trapped inside a sealed bag will return water to the leaves.
Use Towels, Containers, and Bags Correctly
A paper towel or clean dry cloth can absorb small amounts of condensation, but it should not be used to hide greens that were never dried. Line the bottom of a roomy airtight container with a towel, add the leaves without compressing them, and place another towel on top if the leaves are very delicate. A produce bag can work when it is not tightly packed; leave a little space and make a few small ventilation openings if the bag collects droplets. Replace a damp towel promptly. Avoid squeezing a full container into the crisper drawer, because bruising shortens the life of even perfectly dry greens.
Store Lettuce, Spinach, and Kale Differently
Whole heads of lettuce can stay in a breathable bag or container until you are ready to separate the leaves. Once cut, lettuce benefits from a dry container and gentle handling. Baby spinach and arugula should be kept shallow so the lower leaves are not crushed; inspect them every day or two. Kale and collards can be stripped from thick stems, dried well, and stored in a container, or kept as whole bunches until needed. Keep greens away from the coldest wall of the refrigerator if they freeze there, and keep them away from fruit that produces ethylene, such as apples and pears, when practical.
A Step-by-Step Fridge Routine
Start by clearing a shelf or crisper section so the greens will not be crushed by jars. Sort the leaves, wash only the greens that fit your plan, and drain them until no water pools in the spinner or towel. Pack them loosely with a towel, label the container with the date, and place it where you can see it. During the week, remove any leaf that is yellow, slimy, or bruised. If the towel becomes damp, replace it with a dry one. Use the most delicate greens first, then the sturdier kale and collards. This simple rotation prevents a forgotten bag from becoming a source of waste.
Common Storage Mistakes and Fixes
A sealed bag full of wet spinach is the classic failure: open it, remove damaged leaves, dry the remaining greens, and repack them in a shallow container. If lettuce turns limp but is not slimy, a brief soak in cold water followed by thorough drying may restore some crispness. If leaves smell sour, feel slippery, or show spreading dark decay, discard them rather than trying to rescue them. Another mistake is washing an entire week of greens and leaving them on the counter while cooking. Return washed greens to the refrigerator as soon as they are dry, and keep the refrigerator at a consistently cold setting.
How to Plan Greens for the Week
Use a two-container system when you buy several kinds of greens. Keep ready-to-eat delicate leaves in a shallow container and sturdy cooking greens in a separate deeper container. Put a small note on the front with the planned use: salad, sandwiches, or sautéing. Prep only the amount you can dry and use on schedule. For lunch boxes, portion dry leaves first and keep wet toppings or dressing separate. The same approach works with a meal prep vegetable routine and complements the storage practices in how to store fresh herbs.
Keeping Greens Fresh Without Overcomplicating It
Good storage is mostly moisture control and gentle organization. Dry the leaves, give them room, use a towel to manage light condensation, and check the container before adding new produce. Wash sturdy greens ahead only when you can complete the drying step; otherwise, wash delicate leaves as needed. A cool refrigerator and a visible, dated container make it easier to use greens while they are still crisp. For a broader approach to crisp produce, compare these steps with how to keep vegetables crisp.
A Quick Quality Check Before Serving
Before using stored greens, look at the bottom and sides of the container first. A little condensation is manageable if the leaves remain firm, but pooled water should be poured away and the towel replaced. Separate leaves that are still crisp from leaves that have begun to soften. Use crisp leaves raw and reserve slightly wilted but clean leaves for a cooked dish. This small check keeps one questionable leaf from shortening the life of an entire batch. It also helps you learn which shelf or container creates the most condensation in your refrigerator.
If you are storing greens for a shared household, make the container easy to inspect rather than perfectly sealed. A clear box lets you spot condensation and use the leaves before they fade. Keep a separate small container for washed salad leaves and a larger one for cooking greens. When you restock, move the older leaves to the front and add new leaves behind them. This simple first-in, first-out habit matters more than buying special storage gadgets, because it reduces the time any one leaf spends forgotten in a dark drawer.
Step-by-Step Checklist
- Sort and remove damaged leaves before washing.
- Spin or blot until no water pools on the leaves.
- Pack loosely with a dry towel and label the container.
- Check every day or two and replace damp towels.
Sources:
- USDA FoodKeeper — Fresh Vegetables (USDA FoodKeeper)
- USDA Food Safety and Inspection Service — Leftovers and Food Safety (U.S. Department of Agriculture)
- Wikimedia Commons — LeafyVegetables.JPG (Wikimedia Commons)