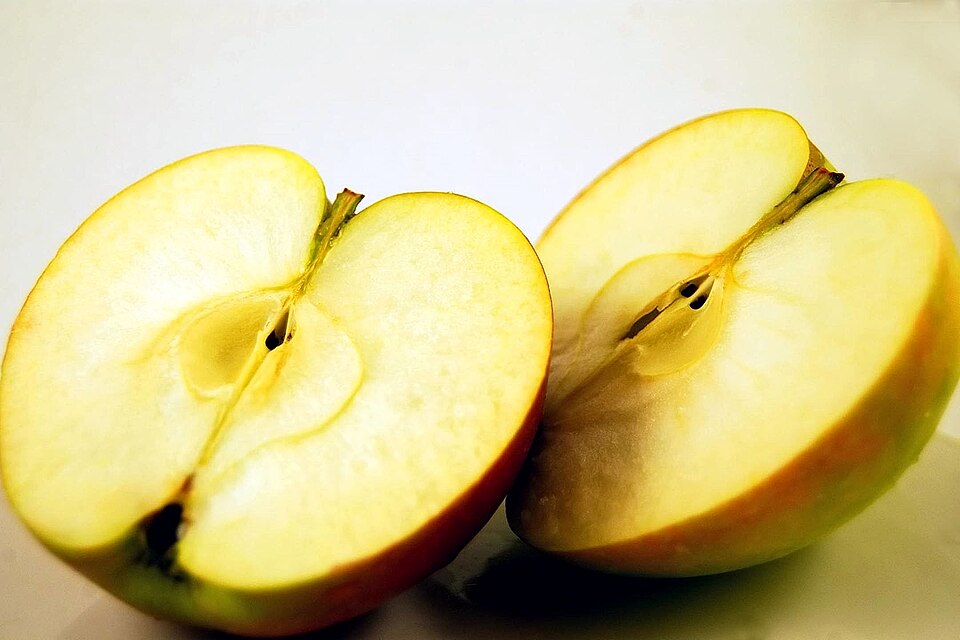
How to Keep Cut Apples from Turning Brown
Learn simple ways to prevent sliced apples from browning. Compare lemon water, airtight containers, and other preparation methods for lunchboxes and meal prep.
Why Cut Apples Turn Brown
An apple’s cells contain compounds that react with oxygen after cutting. The cut surface darkens as enzymes and oxygen meet, a process called enzymatic browning. Browning does not automatically mean the apple is unsafe, but it can make slices look older and change their texture. The speed depends on the variety, ripeness, cut size, temperature, and how much surface is exposed. A thin slice browns sooner than a wedge because more cut area meets air. The practical goal is to slow the reaction with acidity, limited exposure, and cold storage rather than trying to remove every trace of color forever.
Choose the Right Apple and Cut
Firm, crisp apples hold their texture better in lunch boxes than very soft ripe apples. Cut wedges or thicker slices when you want less exposed surface, and keep the pieces similar in size so they receive the same treatment. Use a clean knife and board, then move the slices into the dip promptly. If you are packing apples for several hours, leave the peel on when practical because it protects some of the flesh. For a mixed fruit container, keep apples separate from wet fruit that can soften their surface.
Use Lemon Water Carefully
For a simple dip, mix one tablespoon of lemon juice with one cup of cold water. Submerge the apple slices for about 3 to 5 minutes, then drain well. This adds enough acidity to slow browning without soaking the apple for a long time. Lemon flavor becomes more noticeable as the solution gets stronger or the soaking time increases. If the slices taste too tart, reduce the lemon slightly or rinse quickly with cold water after dipping. Drain thoroughly; excess liquid in the container can make the pieces wet and less appealing.
Compare Other Mild Methods
Plain cold water limits air contact for a short time but does not slow the reaction as strongly once the slices are drained. A small amount of orange juice can provide a milder citrus note, while a fruit-preserving solution made according to its label offers a more neutral flavor. The best choice depends on the use: lemon water works well for a lunch box when a little brightness is welcome, while plain water may be enough for slices served soon. Avoid using an unmeasured strong acid solution simply to chase a perfectly white surface.
A Step-by-Step Prep Routine
Wash and dry the apple, cut it on a clean board, and place the slices directly into the chosen dip. After 3 to 5 minutes, lift them out and let excess liquid drain. Pat gently if needed, then arrange the slices in a single layer or a compact stack inside an airtight container. Press a lid on firmly without crushing the fruit. Add a small cold pack to a lunch bag if the food will travel. This routine also fits the organization principles in prepare healthy lunches ahead.
Keep Air and Moisture Under Control
An airtight container slows browning by reducing new air movement, but it cannot reverse color that has already formed. Fill the container enough to limit empty space without compressing the slices. If the lid collects droplets, dry the apple more thoroughly next time or use a slightly larger container. Store the fruit in the refrigerator until it is time to pack it. Keep sliced apples away from foods with strong odors, and use them within the planned meal window rather than treating an acid dip as a substitute for cold storage.
How Flavor Changes with Each Method
Lemon gives the clearest tang and can make sweet apples taste sharper. Orange juice is softer but still changes the flavor. Plain water has the least flavor impact but provides the shortest visual protection. A commercial fruit dip may be neutral, though it should be used according to its label. Taste a single slice from each method before preparing a large batch. Children or lunch guests may prefer the untreated flavor, while a tart apple can taste balanced after a brief lemon-water dip.
Common Mistakes and Fixes
Leaving slices uncovered is the fastest path to browning. A second mistake is soaking too long, which can dilute flavor and soften the surface. Another is sealing wet slices with a large puddle of dip. Drain and blot the pieces before packing. If the apple is already brown but still firm and fresh-smelling, it can be chopped into oatmeal, a salad, or a sauce; do not waste it solely because the color changed. For other produce organization, compare keeping leafy and green vegetables crisp and reducing kitchen food waste.
A Practical Lunch-Box Choice
For most lunch boxes, use firm apples, a brief lemon-water dip, thorough draining, and a cold airtight container. If the flavor is too tart, use less lemon or choose a milder method and pack the fruit soon after cutting. The combination of acidity, a clean cut, limited air, and cold storage is more reliable than any single trick.
Prepare Only What You Will Use
The best anti-browning method is the one that matches the serving window. If apples will be eaten within a short time, cut thicker wedges and keep them covered. If they will travel for several hours, use the measured lemon-water dip, drain well, and pack them cold. Do not prepare a week of sliced apples at once simply because the dip works; the slices still lose quality with time. A small batch made close to serving usually has better snap and flavor than a heavily treated batch that has sat in liquid or condensation.
If you want to keep the apple flavor neutral, skip a strong citrus bath and focus on the cut and container. Make slightly thicker wedges, keep them close together, press the lid down firmly, and refrigerate them immediately. For a party platter, brush only the exposed cut faces with a mild acidic mixture so the pieces do not sit in liquid. If the apple will be mixed into a recipe, color is less important than crispness; fold it in close to the time of cooking and let the recipe provide the moisture control.
For a large batch, prepare the dip in a wide bowl so every slice is covered quickly. Do not keep adding fresh apples to a bowl of dip that has collected juice and crumbs from the cutting board. Make a fresh solution if the liquid looks cloudy or the batch is large. Once the slices are drained, use a clean container and utensils. Good handling supports the color-control method and keeps the fruit pleasant for the people who will eat it.
Step-by-Step Checklist
- Cut firm apples with a clean knife and move slices into the dip.
- Soak in lemon water for about 3 to 5 minutes.
- Drain and gently dry the slices.
- Pack airtight and keep cold until serving.
Sources:
- USDA FoodKeeper — Fresh Fruits (USDA FoodKeeper)
- USDA Food Safety and Inspection Service — Leftovers and Food Safety (U.S. Department of Agriculture)
- Wikimedia Commons — Sliced_apple.jpg (Wikimedia Commons)